

“While both peripheral and central venous access was traditionally performed using palpation or anatomic landmarks, the use of ultrasound for these procedures has become increasingly prevalent in the emergency setting.”
Peripheral Access
WHY USE ULTRASOUND?
A vast majority of patients in the Emergency Department will ultimately require peripheral or central venous access. While venipuncture can be performed on many patients with ease, there are times when obtaining peripheral venous access by traditional means can prove difficult. [1, 2]
Patients consistently describe peripheral intravenous catheter insertion to be the most painful inpatient procedure [3] and failed insertion results in substantial negative sequelae including trauma and harm to both the patient and their vasculature, increased risk of infiltration and extravasation, increased pain and anxiety, increased morbidity and mortality due to delayed treatment, and wastage of scarce health-care resources. [4]
Studies have shown that, when compared to traditional blind venipuncture techniques, ultrasound-guided peripheral IV access is frequently more successful on the first attempt, requires less time, reduces the number of needle punctures, and improves patient satisfaction. [5]
WHO?
End-stage renal disease
Patients with a history of IV drug abuse
Obesity or patients with poor landmarks
Significant peripheral oedema
Sickle cell anaemia or other blood dyscrasias
Severely dehydrated patients
Self-proclaimed “hard sticks”
Indications.
WHAT PROBE?
Probe: high-frequency, linear
Pre-set: vascular - venous
Depth: around 2 cm
Marker: probe marker pointing toward the patient’s right
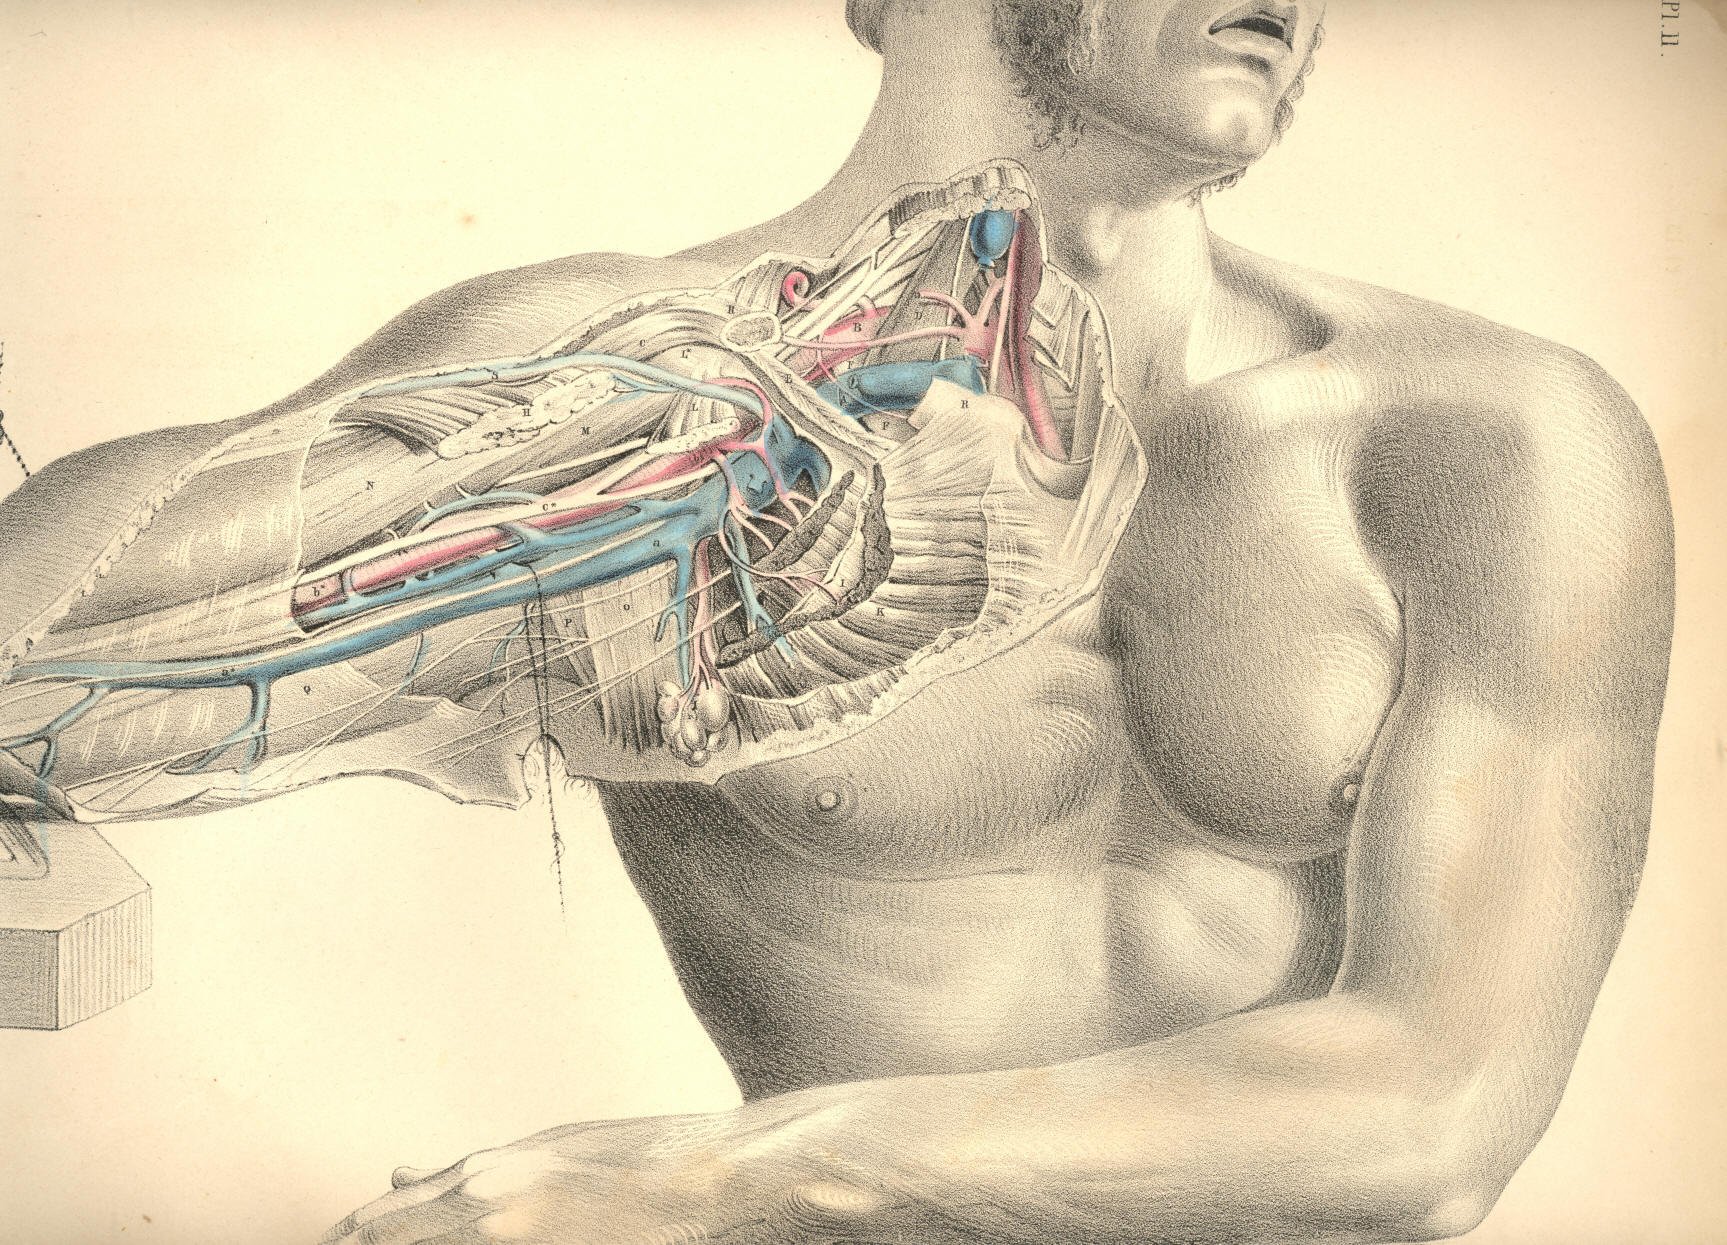
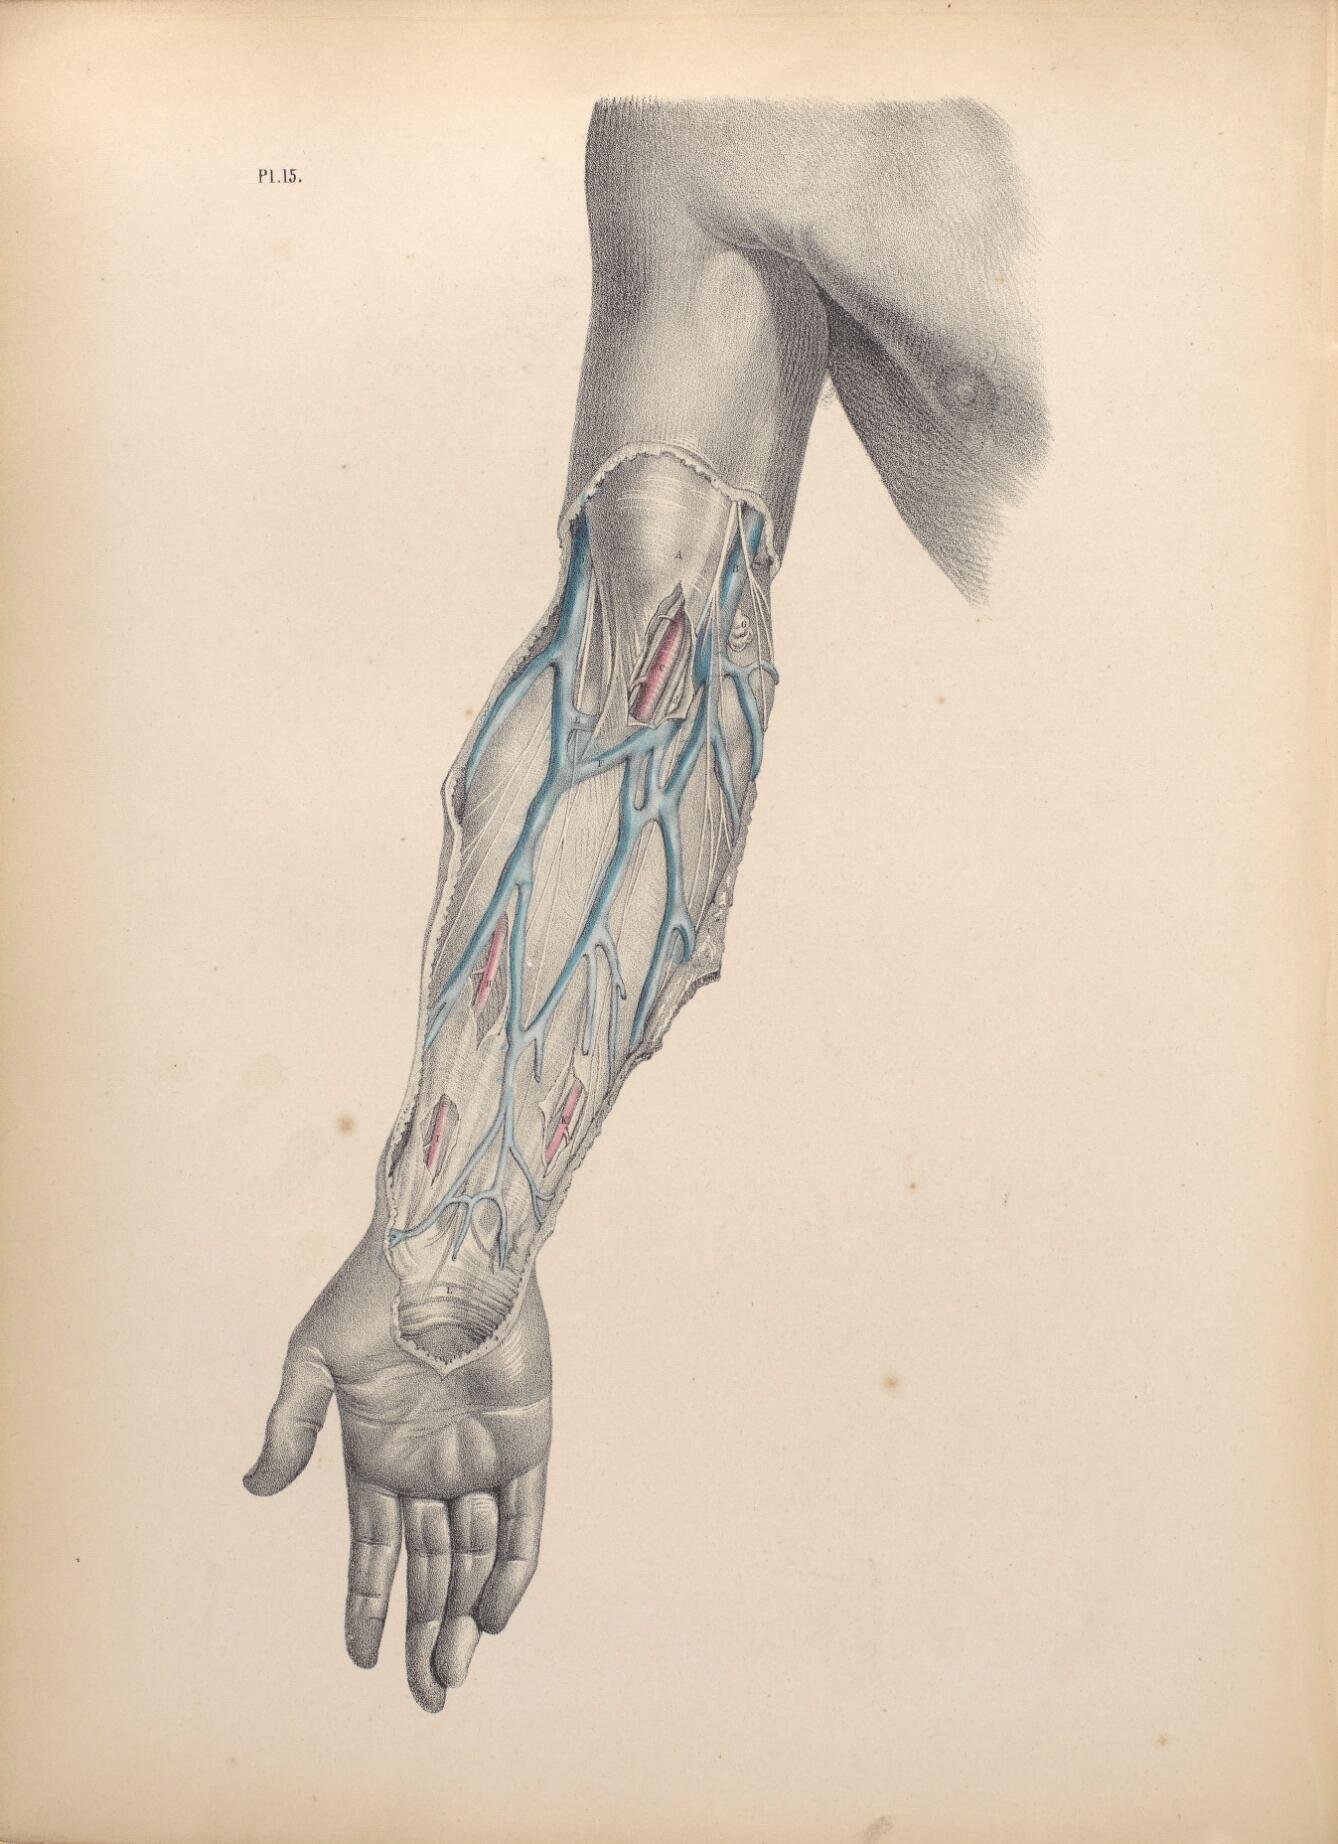
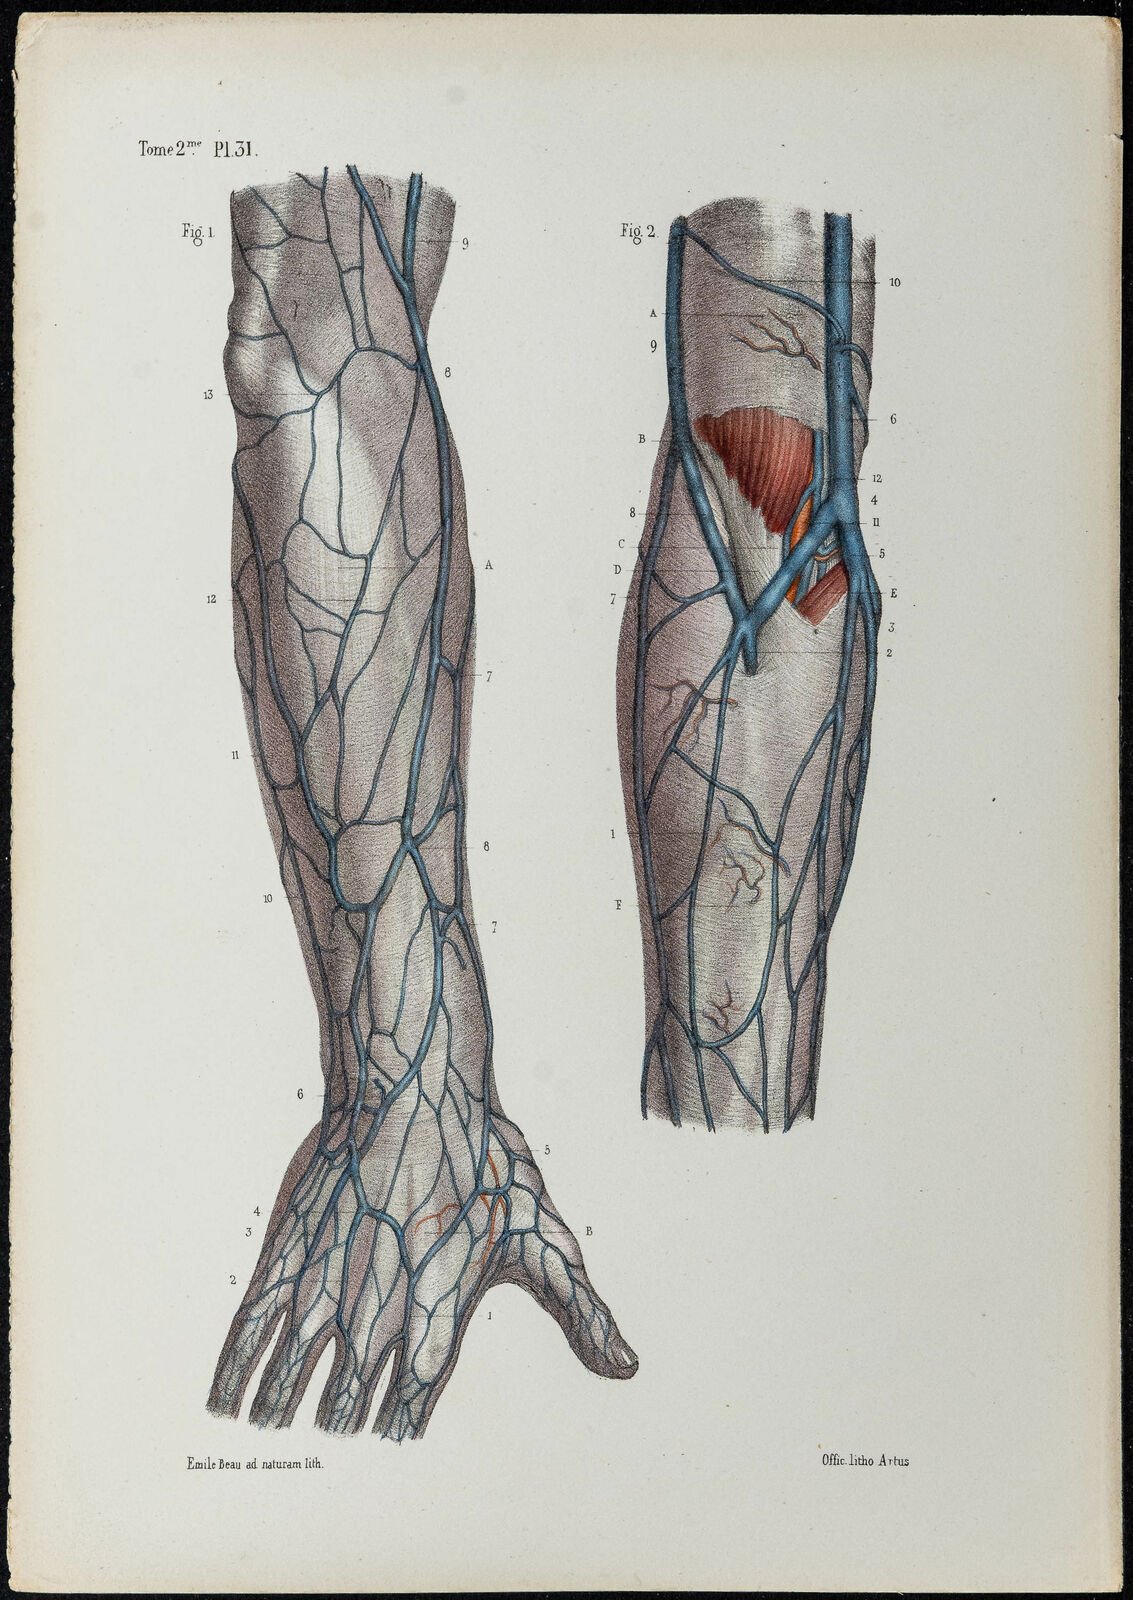
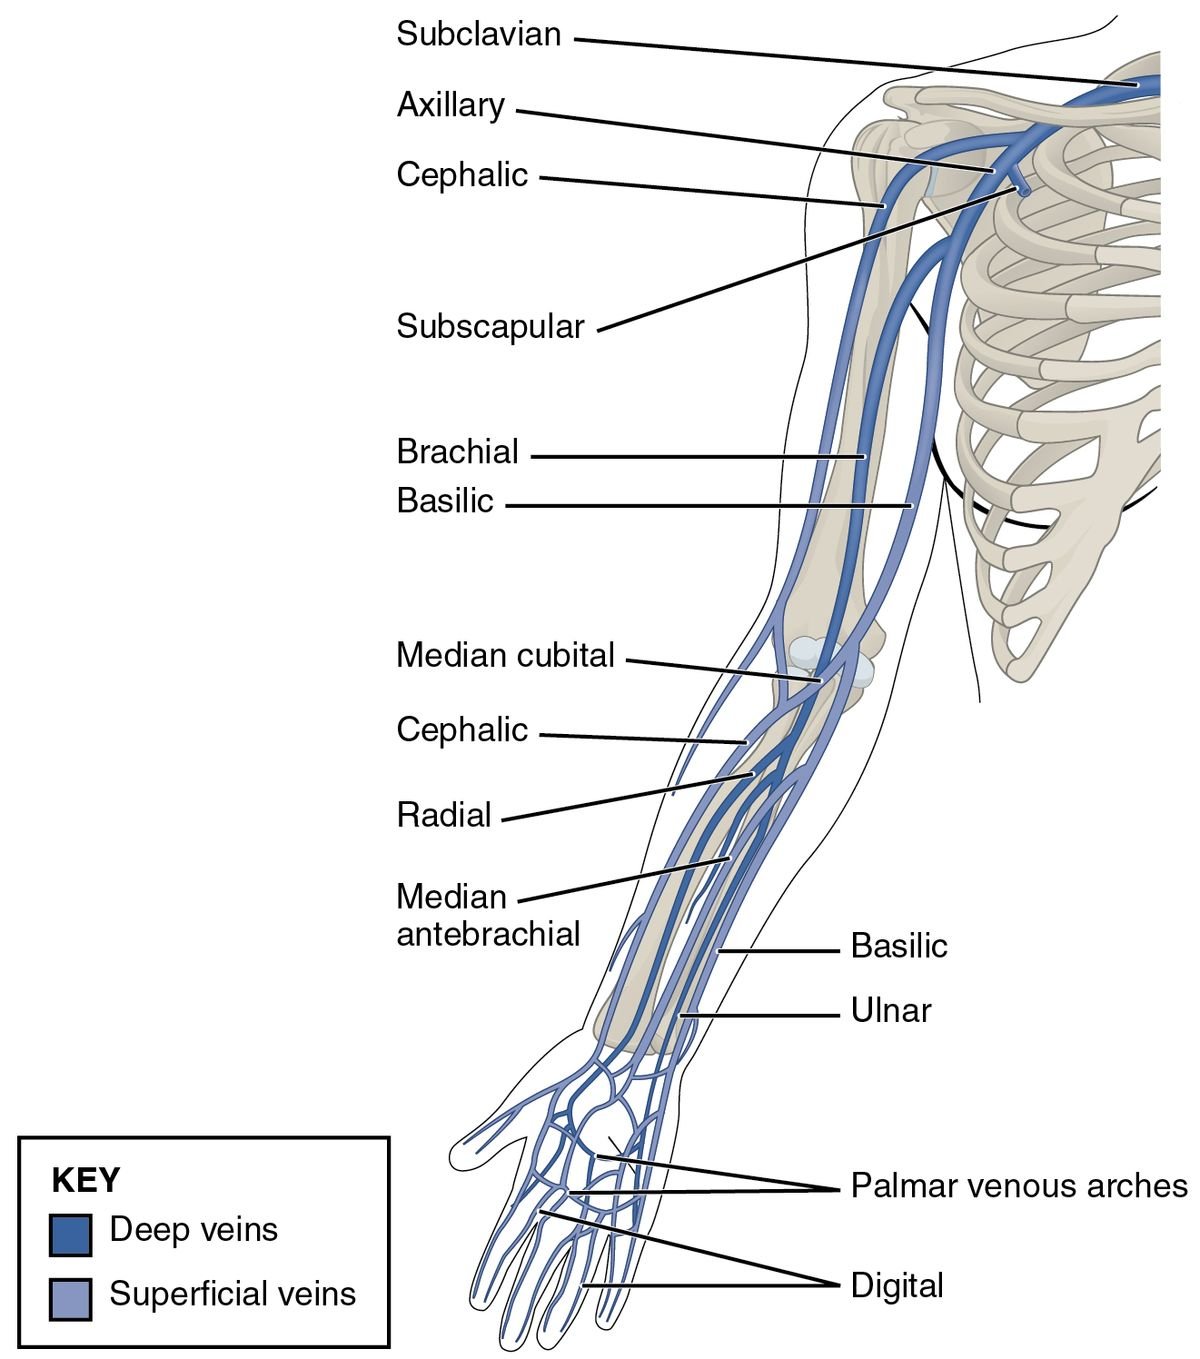
There are multiple options for peripheral venous cannulation. Generally speaking, the vein calibre increases caudo-cranially. However, proximal veins tend to run deeper and be more challenging to cannulate with usual peripheral catheters. Preferential sites of cannulation in the upper limbs are:
Lower arm cephalic
Upper arm cephalic vein
Lower arm median vein
Basilic vein
The basilic vein can be found in the lower arm, but it may be difficult to position the patient for successful cannulation. Is often the largest vein in the upper arm and sometimes not accompanied by arteries, but can be deep and difficult to access.
Anatomy.
SONOGRAPHIC APPEARANCE OF VEINS
Collapsibility: when applying direct downward pressure with the ultrasound probe, veins should collapse easily while arteries will keep their cross-sectional circular shape
Shape and walls: almond-shaped, thin-wall structures
Veins are NOT pulsatile
Distal cephalic vein in short axis, cross-section view. The vein is tracked from the wrist to proximal forearm and the antecubital fossa.
Distal basilic vein tracked proximally in cross-section view. On compression, notice the deeper lying brachial vein and artery (pulsatile).
SELECTING A TARGET VEIN
Once you have identified a vein, it is important to evaluate its depth and size.
According to a 2010 study by Witting et al., ultrasound-guided IV access is more likely to be successful when the vein is: [6]
· Less than 1.5 cm below the skin
· Greater than 0.4 cm in diameter
In addition to evaluating the vessel’s depth and size it is a good idea to scan along the vessel lengthwise to determine its degree of tortuosity. Be sure to scan proximally and distally to your proposed puncture site to evaluate the trajectory of the vein. Compressibility along the length of the vessel is useful to confirm vein patency.
Distal cephalic vein tracked proximally in both planes.
Cephalic vein at the antecubital fossa in both planes.
Basilic vein tracked proximally in both planes.
Procedure.
VIEWS
Once you have identified an appropriate vessel, there are two views that can be used on the ultrasound machine for peripheral IV placement: out-of-plane/short axis (transverse) view or in-plane/long axis (longitudinal) view. The equipment needed is the same for either method.
EQUIPMENT
· High frequency linear ultrasound probe
· Sterile gel/lubricant
· Adhesive dressing (e.g., Tegaderm®)
· IV catheter (ideally longer than 1.16 inches)
· Tourniquet
· Antiseptic solution
Out-of-plane / Short Axis / Cross-Sectional Approach.
We aim to achieve a cross-sectional view of the target vessel and surrounding structures (including other vessels in close proximity) and to track the tip of the needle constantly:
1. Apply a tourniquet to the upper arm.
2. Cleanse the skin with an antiseptic solution.
3. Place adhesive dressing over ultrasound probe.
4. Apply sterile gel to ultrasound probe over adhesive dressing.
5. Place ultrasound probe on skin perpendicular to the previously identified vein making sure to keep the cross-section of the vein at the centre of the screen. Ensure that the ultrasound probe indicator is pointing to the patient’s right—i.e., the ultrasound operator’s left—so that the left side of the ultrasound screen corresponds to the ultrasound indicator.
6. Pierce the skin at a 45 degrees angle, approximately 0.5 cm from the probe, with the catheter at the centre of the probe.
7. Identify the hyperechoic needle tip on the screen it may be useful to push the catheter up and down or fan the probe back and forth to help identify the needle tip on the screen.
8. While advancing the needle, fan/slide the probe back and forth, making the needle tip appear and disappear on the screen to follow its trajectory within the tissues: this will ensure it reaches the target vessel without perforating the posterior wall.
9. Pierce the vein looking for the “target sign” or “bull’s eye sign” (the hyperechoic needle tip in the centre of the anechoic vessel).
10. Once the target sign is visualized, thread the catheter in the usual manner and secure the catheter to the skin with an adhesive dressing.
11. The IV should now flush easily and painlessly if placed correctly.
Short axis approach using Butterfly probe. Courtesy of Michael Macias aka @EMedCurious
In-plane / Long Axis / Longitudinal Approach.
The aim of an In-plane, longitudinal approach is to visualize the entire needle during the whole procedure, minimizing the chances of losing track of the needle itself.
1. Use the same technique as described in steps 1-4 of the short axis approach above.
2. Place the ultrasound probe on the skin parallel to the axis of the previously identified vein with the probe indicator facing towards the patient’s head.
3. Pierce the skin between 30 and 45 degrees angles just distal to the ultrasound probe with the needle at the centre of the probe.
4. Identify the hyperechoic needle on the right side of the screen.
5. Advance the needle tip until you visualize it piercing the wall of the vessel on the screen.
6. Thread the catheter in the usual fashion and secure the catheter to the skin with adhesive.
7. The IV should now flush easily and painlessly if placed correctly.
“Take time to position the patient, the ultrasound, and yourself. Map out the target vein and ensure your needle is properly lined up.”
Approach Comparison.
Both the short-axis and long-axis approaches have advantages and disadvantages. The main advantage of the short axis method is better lateral resolution (i.e., after piercing the skin, one is able to tell if the needle tip is lateral to the vein). The main drawback to the short axis technique is the requirement of moving the ultrasound probe dynamically to keep the needle tip on the screen.
Compared to the short-axis method, the long axis technique allows the operator to visualise the entirety of the needle and see in real time as it enters the vein in profile.
While the short-axis method has good lateral resolution, the long-axis method can be more technically challenging due to its poor lateral resolution (i.e., the needle can appear to be in the same plane as the vessel despite being just lateral to the vessel). Furthermore, with the long axis approach it can be easy to lose sight of the vein and accidentally re-focus the probe onto an adjacent artery with very small moves of the ultrasound probe.
If one is learning the technique for ultrasound-guided IV access for the first time, the short axis approach has been shown to be easier to learn than the long-axis approach for novice operators [7] Furthermore, a 2011 study demonstrated that the short axis method both resulted in a higher success rate and took less time than the long axis approach. [8]
The Videos in Clinical Medicine series by The New England Journal of Medicine provides a review of ultrasound-guided IV placement: http://www.nejm.org/doi/full/10.1056/NEJMvcm1005951
Modern technologies, in this case, the butterfly probe, give way to a less compromising approach. The device allows visualization of both planes simultaneously, delivering a greater degree of security and confidence for successful intra-vascular cannulation. The most evident trade-off is a poorer resolution when compared to traditional US machines. However, this is also compensated with portability, space and versatility on where the screen is positioned in relation to the patient & operator.
Biplane Approach


“When it’s time to puncture the skin, don’t be timid! Make a sufficient first puncture, and stay focused on the screen.”
Pitfalls.
The 5 Most Common (and correctable) Pitfalls of Ultrasound-Guided IV Placement [14]
1. Failure of positioning
· Mistake: The ultrasound screen is positioned in such a way that the provider has to turn significantly to see the screen, or has to lean over such that they are looking up at the screen, resulting in challenging ergonomics.
· Fix: Elevate the bed to the proper height with the patient’s arm extended outwards onto a table, with the ultrasound screen positioned over the patient’s shoulder in line with the arm. The provider, the patient’s arm, and the ultrasound screen should form one straight axis.
Pitfall #1 is the easiest to correct. It involves no physical skills, and depends only on the provider to fight the natural urge to skip basic steps. A moment of preparation will likely save time in the end.
2. Failure to identify vein location and course
· Mistake: The provider correctly identifies a vein, but lacks the 3-dimensional knowledge of where it is and its path relative to the ultrasound probe and probe marker. After skin puncture, they realize their needle tip is not close to the target.
· Fix: Turn on the ultrasound reference lines to indicate the midline of the probe and deliberately note the vessel depth. With 30 seconds of scanning, a vein can be easily mapped in three-dimensional space.
Pitfall #2 is likely to be overcome naturally with experience using ultrasound. Encourage trainees to do all superficial ultrasound with their non-dominant hand so that they are accustomed to manipulating the linear array probe. Ultrasound ambidexterity will confer benefit for other procedures (e.g. central venous line placement, arthrocentesis, etc).
3. Last-minute adjustments in position
· Mistake: The provider holds the needle above the skin. When looking up at the screen at the time of skin puncture, they make a minor unintentional movement just prior to insertion. As a result, the needle (and its subsequent course) is considerably off-target.
· Fix: Rest the needle on the skin, ensuring the midline markers line up with vessel.
Pitfall #3 is subtle, but common and easily correctable. Remind the trainee that simply resting the needle on the skin in the correct position will not hurt the patient.
4. Failure to advance to adequate depth
· Mistake: The initial puncture is too superficial. If the first movement ends at only superficial depth, the needle must then traverse a significant vertical distance during which time there is a high risk of losing the tip. Furthermore, this gentle and prolonged dissection of tissue is painful (and stressful)!
· Fix: Deliberately insert and advance the needle to 80% of the vessel depth.
Pitfall #4 is the most common. Although a sense of depth will come naturally over time, it is greatly accelerated by explicit mindfulness of the target depth. Frequently, the tip will become lost and subsequent attempts to locate the tip are either unsuccessful or unsalvageable due to hematoma formation. Consider practicing by inserting an angiocath into gauze at specific depths.
5. Looking for a flash
· Mistake: The innate – seemingly unavoidable - tendency is to look down at the hub to check for a flash. Looking away from the screen causes subtle movements of one or both hands, leading to loss of the needle tip and inadvertent advancement of the catheter.
· Fix: Do not look away from screen until the catheter has been fully advanced inside the vessel and you are ready to put down the ultrasound probe. Identifying a flash is not part of successful USPIV placement.
Pitfall #5 is an exercise in fighting instinct. The urge to look for a flash is nearly universal, likely because of experience with placing standard peripheral IVs. In the event that a flash is identified, the celebratory moment ends when attention is redirected to the screen and the target sign has vanished due to a subtle inadvertent movement of the probe. If no flash was present, the needle tip is usually buried in the vessel wall creating a hematoma. Instead, encourage learners to pursue "ultrasonic flash" (the target sign) and then continue with advancement without taking their attention from the screen until the catheter has been fully advanced. Even when reminded mid-procedure to never look down, trainees find it nearly irresistible. Continual reminders are needed to overcome this temptation.
Author: Cristina Sorlini | Published: 13 September 2022
Reference.
Ye X, et al. Comparison of Ultrasound Guided and Conventional Techniques for Peripheral Venous Catheter Insertion in Pediatric Patients: A Systematic Review and Meta-Analysis of Randomized Controlled Trials. Front. Pediatr., 07 February 2022 Sec. Pediatric Critical Care
Kleidon TM, et al. Comparison of ultrasound-guided peripheral intravenous catheter insertion with landmark technique in paediatric patients: A systematic review and meta-analysis. Journal of Paediatrics and Child Health 58 (2022) 953–961
Kleidon TM, et al. Implementation of a paediatric peripheral intravenous catheter care bundle: A quality improvement initiative. J. Paediatr. Child Health 2019; 55: 1214–23.
Goff DA, et al. Resource utilization and cost of inserting peripheral intravenous catheters in hospitalized children. Hosp. Pediatr. 2013; 3: 185–91.
Costantino TG, et al. Ultrasonography-guided peripheral intravenous access versus traditional approaches in patients with difficult intravenous access. Ann Emerg Med. 2005 Nov. 46(5):456-61.
Witting MD, et al. Effects of vein width and depth on ultrasound-guided peripheral intravenous success rates. J Emerg Med. 2010 Jul. 39(1):70-5.
Blaivas M, et al. Short-axis versus long-axis approaches for teaching ultrasound-guided vascular access on a new inanimate model. Acad Emerg Med. 2003 Dec. 10(12):1307-11.
Mahler SA, et al. Short- vs long-axis approach to ultrasound-guided peripheral intravenous access: a prospective randomized study. Am J Emerg Med. 2011 Nov. 29(9):1194-7.
Leung J, et al. Real-time ultrasonographically guided internal jugular vein catheterization in the emergency department increases success rates and reduces complications:a randomized, prospective study. Ann Emerg Med. 2006;48:540-547.
Karakitsos D, et al. Real-time ultrasound guided catheterization of the internal jugular vein: A prospective comparison to the landmark technique in critical care patients. Crit Care. 2006;10:R162.
Randolph AG, et al. Ultrasound guidance for placement of central venous catheters: A meta-analysis of the literature. Crit Care Med. 1996;24:2053-2058
Hind D, et al. Ultrasonic locating devices for central venous cannulation: Meta-analysis. BMJ. 2003;327:361.
https://www.emra.org/emresident/article/ultrasound-iv-placement-pitfalls/